Introduction to Vector Art and Its Relevance to Metal Molds
If you’ve ever coordinated custom metal tags or logo branding plates, you’ve likely been asked to supply “vector art” and specifically .AI or .EPS files for manufacturing metal molds. This requirement is more than just a technical preference—it’s fundamental to achieving clean, precise, and durable outcomes in metalwork.
Let’s clarify: vector art design is comprised of mathematically defined points, lines, curves, and shapes. This means it’s not limited by resolution like pixel-based raster images (think .JPG or .PNG). Raster images rely on a fixed grid of colored dots; when you scale them up, they become blurry or pixelated. Vector art, however, scales smoothly to any size—whether you need a tiny key tag or an oversized industrial nameplate.
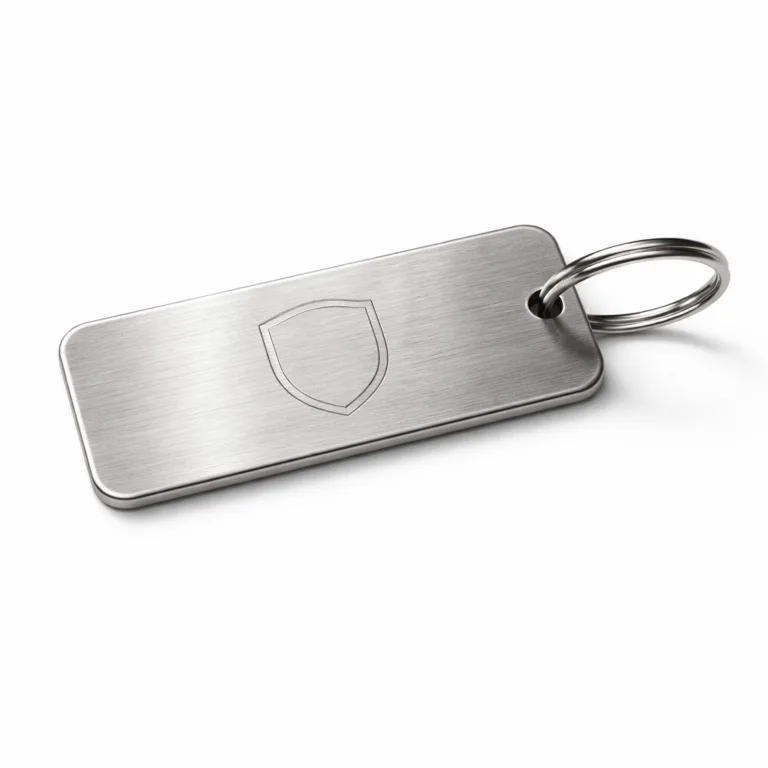
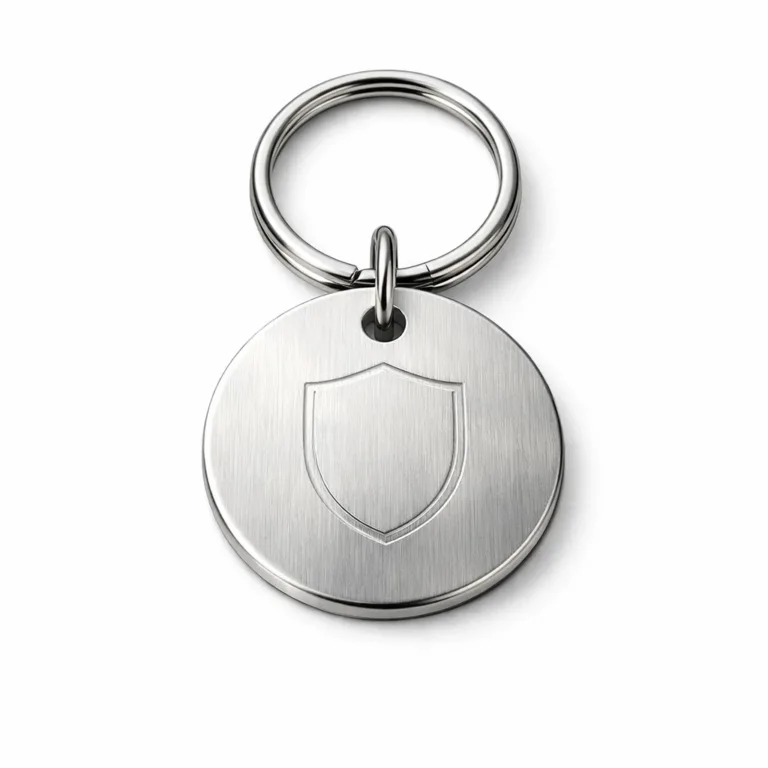
This scalability is critical in metal molds. No one wants an etched serial number that’s hard to read, or a company logo that loses definition when resized. By working with vector formats, the sharpness and clarity of your design are preserved from digital file to final metal tag.
The industry-standard file formats for vector art are .AI (Adobe Illustrator) and .EPS (Encapsulated PostScript). Both enable designers and engineers to deliver production-ready artwork, maintain detail at any scale, and ensure results remain crisp through metal mold manufacturing—whether for aluminum, stainless steel, or brass tags. Throughout this guide, we’ll explore the importance of these vector art formats in metal molds and the steps designers can take to optimize their projects.
Understanding Vector File Formats: .AI vs. .EPS

Both .AI and .EPS file types are foundational to vector art workflows, but each offers unique strengths in industrial and commercial settings. Choosing the right one is as important as the design itself, especially if your project demands exactness through metal molds.
.AI files are native to Adobe Illustrator. These are ideal for complex design work where keeping multiple layers, editable text, gradients, and grouped elements matters. If you’re working in a design environment with full access to Illustrator, .AI provides the most flexibility for last-minute tweaks and updates.
.EPS files excel in terms of compatibility. They’re a universal language for vector art, readable by many CAD, CAM, or die-making software suites—even across companies using different tools. EPS “locks down” the artwork into a stable format, so elements won’t unexpectedly shift when opened elsewhere. That’s why many metal mold manufacturers request .EPS: it travels well from designer to production floor without misinterpreting layers or fonts.
There are minor trade-offs. AI files can retain hidden data and metadata, such as color profiles or non-printing elements, which might not translate desk-to-die. Meanwhile, EPS flattens complex effects, sometimes stripping out live transparency or certain filters. For metal molds, where simplicity and sharp edges matter, this flattening is often a plus.
When would you use one over the other?
- Use .AI when you need maximum editability within the design team before locking files.
- Use .EPS when sharing artwork cross-platform or submitting to manufacturers whose software isn’t Illustrator-based.
Whatever you choose, always communicate with your metal mold partner about file expectations. Some manufacturers, such as UC Tag, recommend specific file types based on the technique—engraved, stamped, or etched tags all behave slightly differently with vector data.
| Vector File Format | Editability | Software Compatibility | Typical Use Case |
|---|---|---|---|
| .AI | High (layers, live text, effects editable) | Adobe Illustrator, limited others | In-house design, multi-edit rounds |
| .EPS | Medium (artwork flattened, less editable) | Most vector/CAD/CAM software | Final artwork, manufacturer-ready |
Preparing Vector Art Files for Metal Molding
Getting your vector files manufacturing-ready saves time, budget, and frustration. What follows are shop-floor-tested steps to make your vector art pass quickly from computer screen to metal mold without a hitch.
1. Size & Dimensions: Always set your artboard size to real-world dimensions. If your tag will be 50mm x 25mm, your file should match these specs. This ensures conversion without scaling errors.
2. Outline Fonts & Curves: Convert all text to outlines or paths (“Create Outlines” in Illustrator). This avoids font substitution problems if your manufacturer doesn’t have your font installed. Clean, single-path vector objects ensure shapes are cut or etched precisely.
3. Color Mode: Set your color mode to Pantone or Spot Colors for engraving or stamping; CMYK is fine for UV printing. Remove unnecessary gradients or effects unless specified for the technique.
4. Layer Organization: Keep your layers logical—label backgrounds, cut lines, engraving zones, and debossed/embossed areas. Merge or flatten as needed for compatibility with manufacturer software, but retain critical separation for edits.
5. File Saving & Export: Save in the requested format (.AI or .EPS). Check the version requirement (for example, export as “Illustrator CS6 EPS” if specified). Provide any linked image files separately, though ideally, your design should be 100% vector for all direct metal molding applications.
Two final tips: double-check that lines are closed shapes (no open-ended paths), and detail any tolerances or critical features in a separate specification sheet. Most important, communicate updates and clarifications with your manufacturer to avoid missed details along the way.
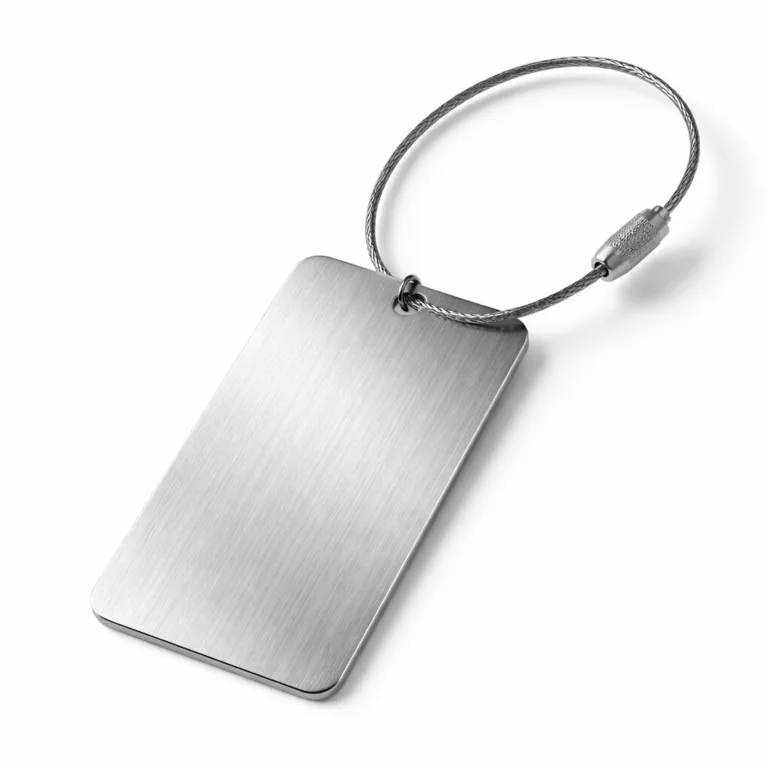
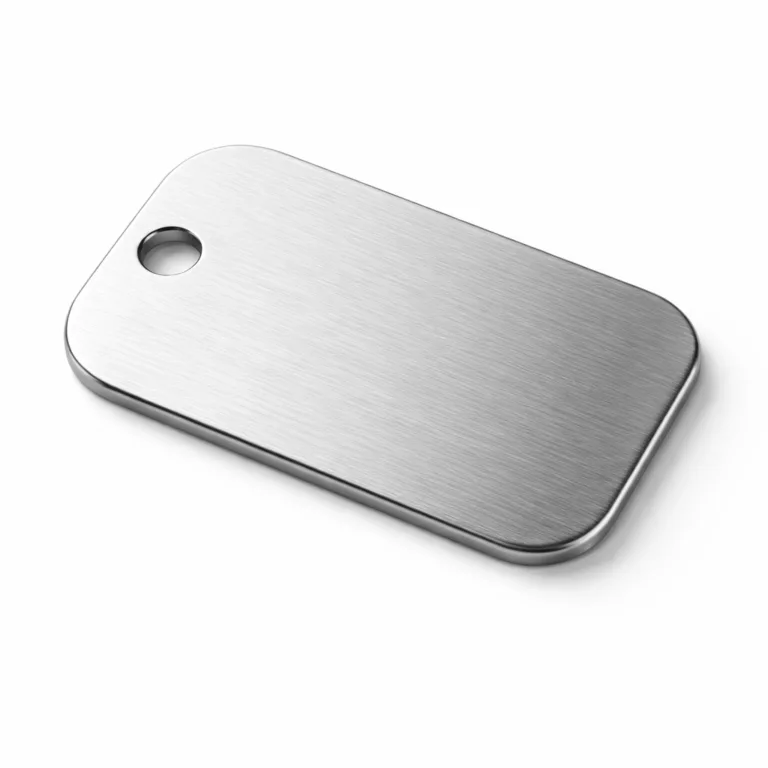
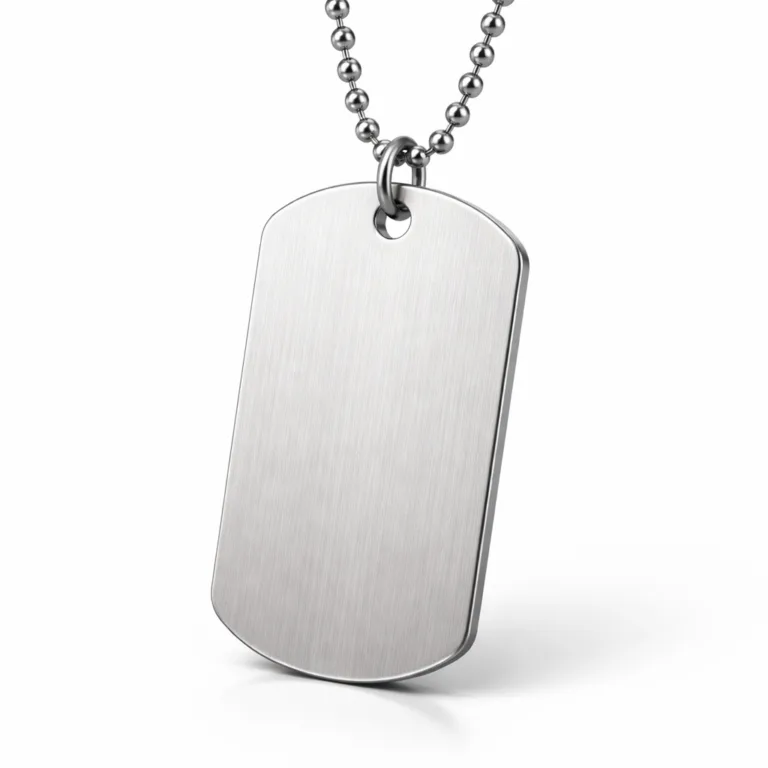
Material Comparison for Metal Tags: Aluminum, Stainless Steel, and Brass
The choice of metal fundamentally shapes the performance and price of a tag produced from your vector art via metal molds. Each material brings distinct benefits—and trade-offs—that impact practical use on the production line and in the field.
Aluminum stands out for its lightweight, corrosion resistance, and vibrant anodized color options. It’s a go-to for high-volume, cost-sensitive tags and can be anodized in a range of finishes. However, its softness compared to steel or brass makes it less ideal for extremely high-wear environments.
Stainless Steel is synonymous with durability and corrosion resistance—even in marine or chemical environments. It resists scratching, heat, and UV exposure, making it a default for military or heavy-equipment ID tags. The trade-off: it’s heavier, and costs more to process due to its hardness.
Brass offers premium aesthetics with a classic gold-like sheen. It’s corrosion-resistant and can develop a beautiful patina over time, but it’s heavier and pricier than aluminum. Brass is often chosen for premium branding, decorative wine tags, or historical restorations.
| Material | Durability | Corrosion Resistance | Weight | Finish Options | Common Applications |
|---|---|---|---|---|---|
| Aluminum | Moderate | Excellent (anodized) | Light | Anodizing, color dyeing | Luggage, asset, industrial safety |
| Stainless Steel | Excellent | Excellent | Heavy | Brushed, mirror, matte, etched | Military, marine, outdoor assets |
| Brass | High | Good | Heavy | Polished, antique, patina | Wine, gifts, decorative, awards |
Environmental factors (such as exposure to salt spray, abrasion, or UV) play a huge role in selection. For example, UC Tag recommends stainless steel for repeated outdoor use because of its superior resistance, while anodized aluminum shines indoors or in dry settings. Material price also matters: brass is typically highest, aluminum lowest, with steel in between.
Your final application—whether bolted to machinery, sewn into garments, or used as a keychain—should guide every aspect of your material and design pairing.

Manufacturing Methods Explained: Engraving, Stamping, Etching, and Printing
The path from vector art to metal molds to finished tag involves choosing the right manufacturing method. Each technique capitalizes on different file complexities and delivers unique results.
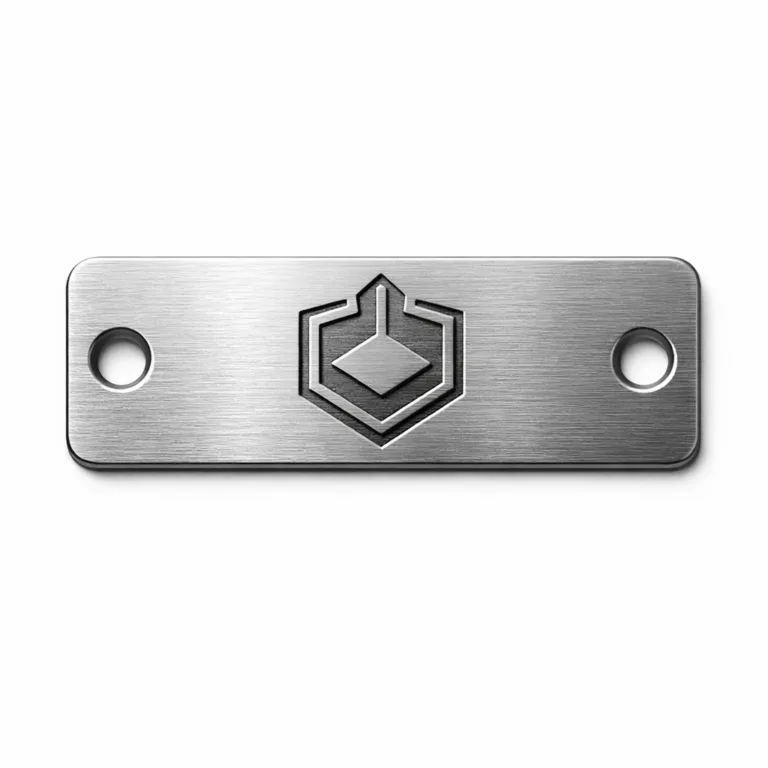
Engraving (like laser or CNC) uses your vector lines and paths as a guide to remove material, creating recessed, permanent marks. Clean paths in your artwork ensure sharp, legible marks—especially vital for QR codes or serial numbers. More on engraving trade-offs can be found in our engraving depth guide.
Stamping and embossing involve pressing your art into metal using dies made from your vector files. Simple, bold shapes and closed paths translate best; excessive detail can get lost, especially at smaller sizes. UC Tag’s lead craftsman, Rain Chen, notes it’s common to slightly thicken thin lines in the artwork for deeper, more consistent impressions during mass production.
Chemical etching dissolves metal away using your vector art as a mask. It supports finer detail than stamping—think micro text or tiny cut-outs—provided your art uses clean, unbroken lines replicated from your vector art.
UV and digital printing can reproduce photographic detail but still benefit from vector cut paths for die-cutting or placement. Complex gradients or raster images within your art should be checked with production for print clarity.
Operational costs vary: engraving is cost-effective for short runs and variable data; stamping excels in high-volume uniform tags; etching balances precision and scalability; printing is ideal for full-color needs. Always match your design file’s complexity and level of detail to the capabilities of your chosen process. For more on precision trade-offs between methods, see our manufacturing methods comparison.
Design and Specification Checklist for Vector Art
A rigorous design checklist ensures your vector art will perform in metal molds and transition flawlessly to production. Here’s a practical reference for designers and engineers:
| Specification | Guideline |
|---|---|
| Tag Size & Shape | Match artboard and drawing to final product dimensions |
| Material/Finish | Specify metal type and finish (e.g., anodized aluminum, brushed steel) |
| Text & Fonts | All text converted to outlines/curves |
| Holes/Adhesive | Show hole placement, type, or adhesive zones |
| Readability | Use high-contrast design; consider minimum text size |
| Tolerances | Include +/- tolerance for cut lines; communicate critical features |
- Follow common industry standards for vector artwork and metadata (e.g., ISO for technical file labeling)
- Prototype before mass production to ensure all design elements transfer correctly
- Flag potential production issues, such as overly thin lines or intricate cut-outs, early
- Build in a feedback loop—review proofs with your manufacturer for every new application
Design failures often result from missing specifications or neglecting end-use realities, like insufficient contrast or improper hole placement for attachment hardware. See our checklist articles like choosing badge attachments for more tips.
Durability and Testing for Metal Tags
Every metal tag—whether a luggage label, serial number badge, or asset ID—faces harsh conditions. Well-prepared vector art for metal molds is essential, but so is verifying the end product with industry-accepted durability testing.
Common tests include salt spray (for corrosion resistance), abrasion testing, and exposure to UV and weather. These tests check if the selected metal, finish, and design choices hold up under the specified conditions. For mission-critical tags, standards like ASTM or ISO provide benchmarks: does the tag meet a minimum lifespan, survive chemical environments, or retain legibility after repeated handling?
The material’s role can’t be stressed enough—a UV-printed aluminum tag will perform differently outdoors than a deep-engraved stainless steel tag. Choices in finish (anodized, plated, enamel-filled) further influence which environments your tag can survive in. For more on resisting environmental stress, see our guide on rust proofing strategies.
Ask your manufacturer about certification or test data. And always specify the use case: asset tracking on marine equipment needs a different solution than a decorative wine tag meant for a dry cellar.
Common Mistakes in Vector Art and Metal Mold Preparation
Missteps in vector art preparation or specifying metal molds can cause expensive delays or failed projects. Some of the most frequent errors—and their solutions—are outlined here:
- Unreadable text: Avoid tiny type, low-contrast colors, and font weights too thin for stamping or etching.
- Wrong adhesive or attachment method: Always specify if the tag requires 3M adhesive, holes for rivets, or another mounting.
- Poor finish selection: Not all metals accept every type of plating or enamel; some combinations reduce legibility or durability.
Incomplete production specs are another culprit. A missing shape outline or ambiguous dimension can force a costly round of proofs. Also, unclear communication about layers (e.g., what’s meant to be raised, recessed, or left blank) often leads to mold errors.
The fix: rigorously proof vector files and double-check production notes with your manufacturer before releasing the final artwork. For deeper troubleshooting, reference our articles on secure tag attachments and avoiding weak tag finishes. Cross-team review and manufacturer feedback will catch many issues early.
Ordering Guide for Metal Tags

Purchasing high-quality metal tags with precision metal molds and optimal vector art relies on a disciplined ordering process. Start with minimum order quantity and realistic lead times—these vary by material and method (engraving is faster in small batches, stamping is cost-effective at scale).
Always request artwork reviews and production proofs. A physical sample (even if a single piece) helps verify that the tag performs and reads as designed before full production. Sampling also provides a chance to review finishes, color, and attachment solutions—see stick-on metal logo tags for packaging and backing insights.
Don’t overlook packaging and shipping: options include bulk cartons, individual retail packing, or break-resistant sleeves for fragile tags. Keep organized records of all versions and order specs for easy repeat orders and troubleshooting down the line.
Frequently Asked Questions
What is vector art, and why can’t I use a JPG or PNG for metal molds?
Vector art is made of mathematically defined shapes and lines, allowing scaling without any loss in quality. JPG or PNG files are pixel-based and become blurry or unusable for precise manufacturing; only vector art provides the crisp, editable data required for mold production.
Which is better for submitting artwork—.AI or .EPS?
.AI offers the best editability if everyone works in Illustrator, but .EPS is more widely compatible with manufacturing and CAD software, making it safer for direct submission to metal mold fabricators.
What common mistakes should I avoid in vector files?
Avoid leaving live fonts (always outline them), using colors or effects not supported by your manufacturer’s processes, and omitting critical details like hole placement or finish type in your submission.
How do I ensure my artwork is readable when stamped or engraved?
Use sufficient font size and stroke thickness; avoid overly fine details or low-contrast elements that might blur or disappear during mold creation or in final production.
When should I consult the manufacturer before finalizing my design?
It’s wise to check early—especially if trying new materials, shapes, or finishes—or if you’re unsure how your design will perform in the intended manufacturing process for metal molds.
What’s the best way to store my final artwork files and documentation?
Always keep organized directories for source files, outlines/specs, and production proofs; store each version with clear names and backup copies for future orders or revisions.
Related Reading
- How to Set Engraving Depths That Guarantee Durability
- 3M Adhesive Backings: The Secret to Long-Lasting Stick-On Metal Tags
- Die Stamping vs. Casting: Match Your Design Needs the Smart Way
- Fight Rust: The Best Protection Strategies for Metal Tags in Harsh Environments
- Select the Safest Badge Attachment: Pins vs. Clutch for Reliability
- Stop Tag Failures: Choosing Split Rings or Jump Rings for Secure Attachment