Introduction to JPEG to Cut-Out Design
Converting a standard JPEG logo into a cut-out design is a crucial step for companies prioritizing durable branding and identification. Cut-out designs serve as a visually striking, functional way to showcase a logo on products like metal tags, nameplates, and branded merchandise.
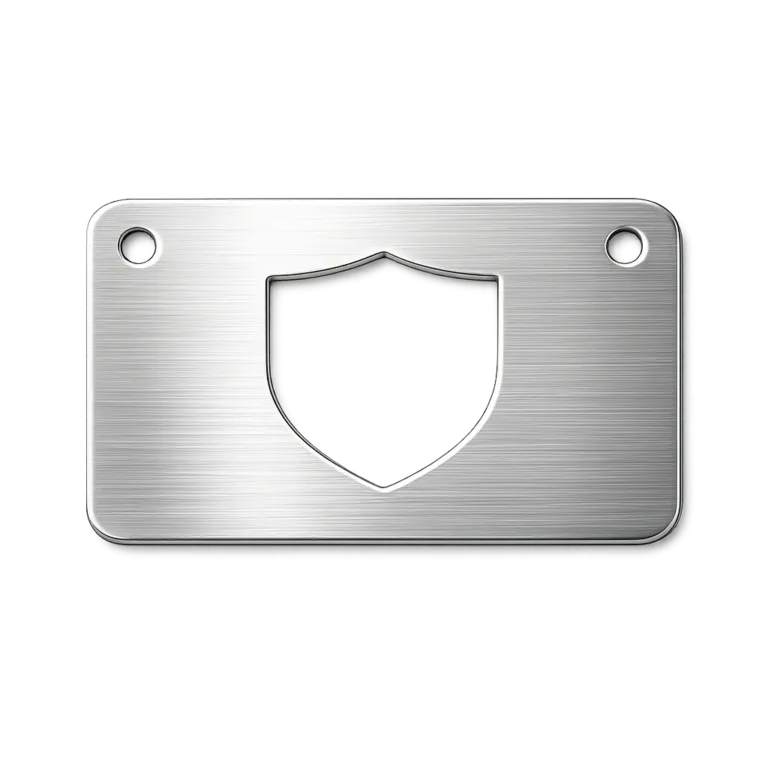
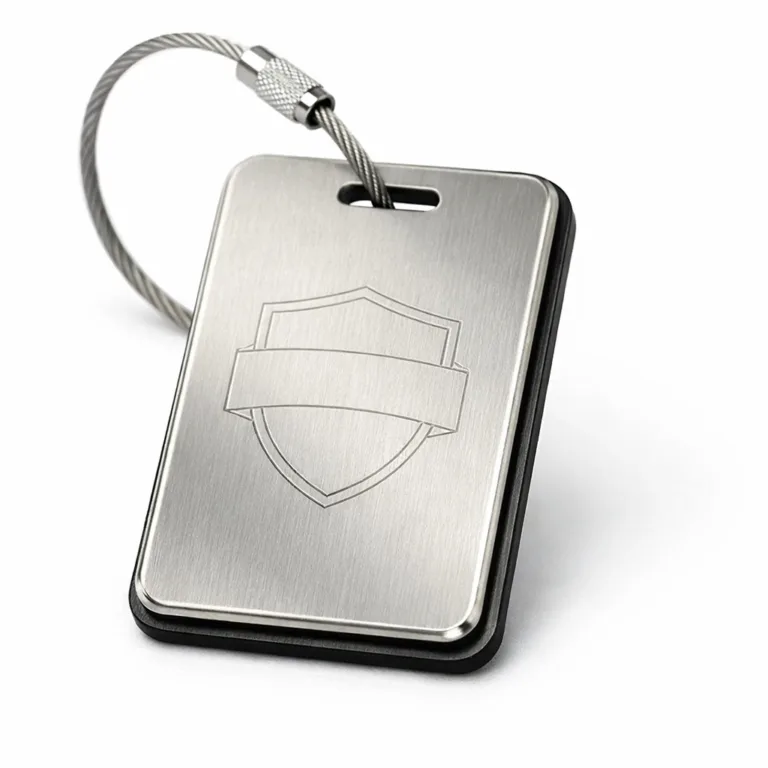
A cut-out logo essentially removes background material, leaving just the logo or key shapes pierced through the surface. This technique makes logos stand out, and increases resistance to fading or wear compared to printed designs. Applications range from asset ID tags in manufacturing, to pet tags, luggage tags, and custom keychain logo tags.
High-quality cut-out designs deliver advantages like lasting readability, tamper resistance, and professional appearance. Creating a clean, scalable logo cut-out relies on effective image conversion. Throughout this guide, we’ll explore the JPEG to cut-out design process, covering software tools including Adobe Illustrator, CorelDRAW, and online converters.
Understanding JPEG and Cut-Out Designs

A JPEG file is one of the most common image formats, valued for its compact file size and broad compatibility. JPEGs are typically used in digital photos, web logos, and email signatures. However, they are made of pixels and don’t scale well for manufacturing needs, especially when crisp edges or high detail are essential.
Cut-out designs—sometimes called cut-throughs or piercings—transform flat artwork into distinctive logos that physically shape metal, vinyl, or other materials. Many industries use cut-out designs for branding, security, and clear identification. Compared to traditional logo formats, cut-outs add physical presence and tactile feedback.
One key difference: cut-out designs require vector artwork. Unlike JPEGs, vectors retain sharp edges and details at any size. In logo conversion, making sure your graphics scale properly ensures clarity even on smaller tags or large signage. Understanding file formats and their manufacturing implications is crucial—vector files (like .AI, .SVG, .EPS) enable precision cutting or etching, while JPEGs may blur or lose details.
Required Tools and Software for Image Conversion
Successfully converting a JPEG logo to a cut-out design starts with choosing the right tools:
- Adobe Illustrator: Industry standard for vector conversion and logo editing
- CorelDRAW: Another powerful vector editor, commonly used for manufacturing artwork
- Online converters: Useful for quick conversions, but often limited in edge quality or customization
- Inkscape: Free, open-source option for basic vectorization
For cut-out designs, vector graphics are essential—these files allow manufacturers to produce sharp lines, clean curves, and precise shapes. Basic tools can automate tracing, while advanced software offers nuanced editing for line weight and shape simplification.
Choosing your tool depends on user competence and project needs. Advanced programs let you refine paths, adjust tolerances, and preview output, maintaining the logo’s quality for mass production. UC Tag recommends Illustrator when exact spec control is critical for metal tag manufacturing.
Functions like auto-tracing, manual path correction, and exporting to formats like .SVG or .DXF ensure the converted cut-out design stays true to the original logo, while optimizing geometry for durability.
Step-by-Step Process to Convert JPEG to Cut-Out Design
Turning a JPEG logo into a cut-out design involves several key steps:
Opening the JPEG in Adobe Illustrator
Begin by importing your JPEG logo into Illustrator using File > Open. Make sure your image is high-resolution to maximize tracing accuracy.
Tracing for Vector Conversion
Use the ‘Image Trace’ feature. Set the mode to “Black and White” for clear outlines. Adjust threshold settings for maximum edge clarity and minimal noise.
Refining the Logo Paths
Expand the traced image into editable paths. Use the Pen, Direct Selection, and Smooth tools to manually refine shapes—eliminating stray points and fixing jagged lines for clean edges.
Ensuring Quality and File Format
Check scale by zooming in and out, verifying that details remain crisp. Simplify shapes where possible for small tags and add bleed or border lines as needed. Export as .SVG, .EPS, or .DXF for manufacturing.
| Step | Action | Tip |
|---|---|---|
| Import JPEG | Open in Illustrator | Use largest pixel size possible |
| Trace | Use Image Trace | Adjust black/white for strong contrast |
| Refine | Edit paths | Remove excess points, keep lines smooth |
| Optimize | Scale test | Check legibility at smallest size |
| Export | Save as .SVG/.DXF | Choose vector format for manufacturing |
File formats matter: some production methods require .DXF for CNC cutting, others use .SVG for laser or etching. Always confirm specs and submit the logo conversion file that matches your application, from vinyl to metal tags.
Common Design Specifications for Cut-Out Logos
Several key specs determine if your cut-out design performs well in practical applications:
- Dimensions: Consider tag size and proportion—common ranges are 20–40mm wide for luggage tags, 25–30mm for pet tags.
- Thickness: Typical metal tags vary from 0.6–1.2mm, thicker metal improves durability but adds weight.
- Scale/Detail: Overly fine lines may break or lose legibility; observe minimum line weight guidelines.
- Finishes: Matte, polished, brushed, or antique finishes affect how the cut-out design reads under lighting. For outdoor tags, UV-resistant coatings help prevent fading.
- Adhesive & Attachment: Choose between stick-on (e.g., 3M adhesive), holes for rivets, or wire cables for secure mounting.
- Readability: Small tags require enlarged text, high contrast, and simplified logos; see Expert Font Size Guide.
- Tolerances: Manufacturers require artwork with clear tolerances for line weight and cut spacing; tight tolerances ensure durability and prevent sharp edges.
UC Tag’s shop-floor crews recommend reviewing key specs early and referencing technical guides like Mastering Metal Line Weight and Tensile Strength before submitting final cut-out designs. Double-check adhesive options or hole placements to match surfaces and environments.
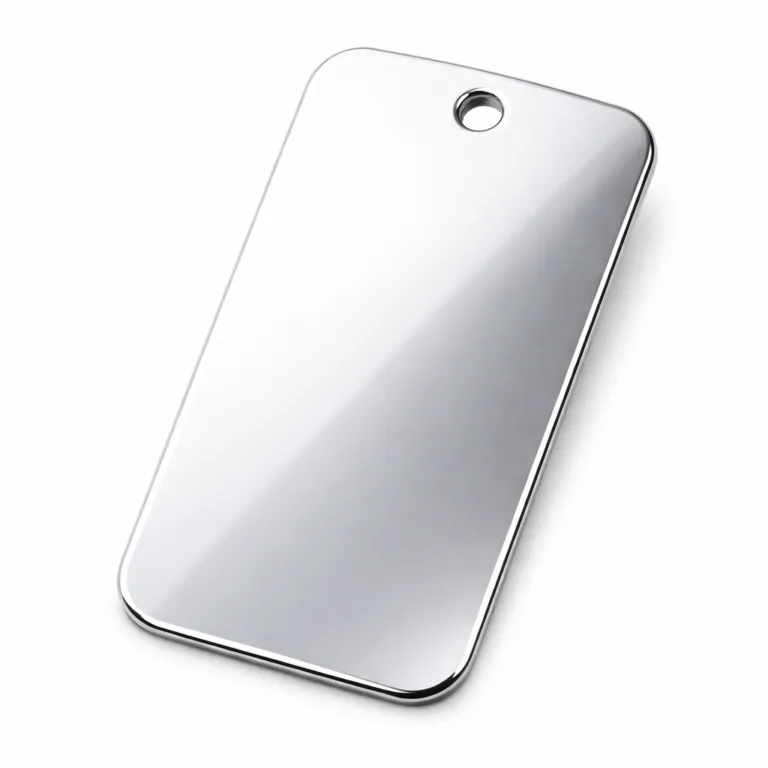
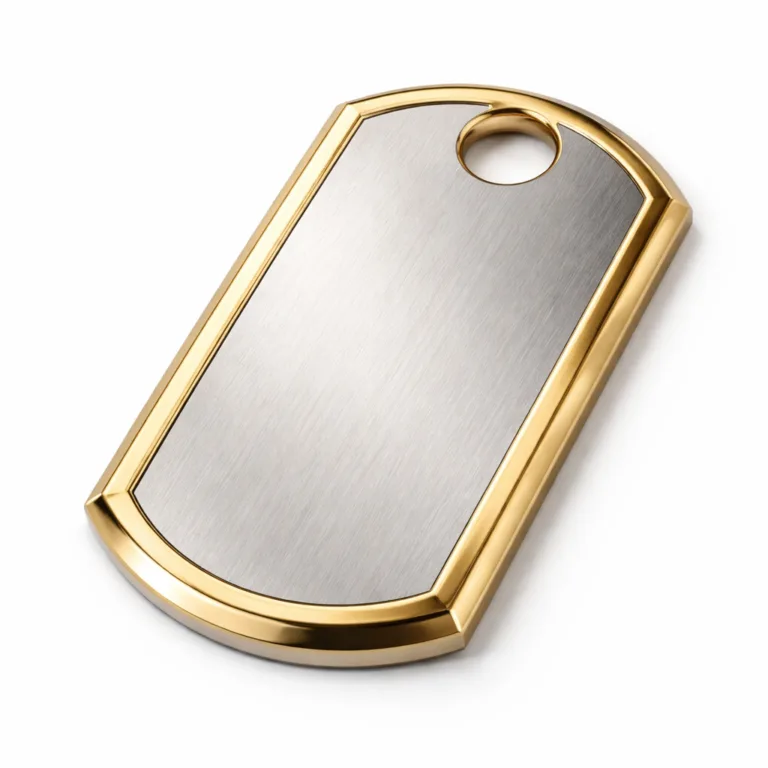
Comparing Materials: Aluminum, Stainless Steel, and Brass for Tags
Choosing the right material directly impacts the look, durability, and function of your cut-out design. Here’s a practical comparison:
| Material | Durability | Corrosion Resistance | Cost | Weight | Texture/Visibility | Ideal Application |
|---|---|---|---|---|---|---|
| Aluminum | Moderate | High | Lower | Light | Matte/Brushed, easy to color | Outdoor, promotional |
| Stainless Steel | High | Excellent | Medium-High | Medium | Reflective, polished, robust | Industrial, harsh environments |
| Brass | Good | Medium | Medium-High | Medium-Heavy | Antique sheen, luxury look | Premium branding, collectibles |
Aluminum offers lightness and cost efficiency, making it ideal for mass production and outdoor uses. Stainless steel’s superior durability is perfect for environments exposed to moisture, chemicals, or abrasion. Brass tags cater to upscale branding with vintage appeal, but require maintenance to preserve shine.
Material choice can influence manufacturing: heavier tags need secure attachment, while textured finishes enhance logo visibility. Refer to Brass vs. Steel Tags: Real-World Wear & Tear Insights for long-term performance comparisons.

Common Manufacturing Methods for Metal Tags
Metal tag manufacturers use various methods to create cut-out designs, each with unique advantages:
- Engraving: Laser or CNC engraving creates deep, durable lines with long-lasting legibility.
- Stamping: Die stamping shapes metal with force, ideal for quick production and robust cut-outs.
- Chemical Etching: Allows for fine detail, even in thin metals—great for bookmarks and high-contrast logos.
- Printing: UV or offset printing adds color layers but doesn’t create true cut-outs; best for layered artwork or serial numbers.
Durability and aesthetics vary—engraving and stamping are preferred for industrial-grade tags and high traffic areas, while etching suits detailed, decorative designs like bookmarks (bookmark tag manufacturer). Production time and costs depend on method: stamping is fast at scale, engraving is slower but precise, etching offers flexibility for complex shapes.
The final manufacturing choice must align with finish quality and tag environment—consult Expert Secrets to Stunning Cut-Out Detailing for Metal Logo Tags for advanced tips on achieving crisp edges and reliable performance.
Durability Testing & Performance Considerations
Before mass production, durability testing ensures your cut-out design survives real-world conditions. Typical tests include:
- Corrosion testing (salt spray or chemical exposure)
- Abrasion resistance (rubbing, impact)
- UV exposure (fade prevention)
- Environmental cycling (temperature, humidity)
Material and finish influence outcomes. Stainless steel excels in salt spray or marine environments, while anodized aluminum stands up to UV and basic abrasion. Brass tags may require special coatings for outdoor use.
Testing is essential for applications like industrial asset tracking, outdoor branding, or pet identification (dog tag manufacturer). UC Tag performs systematic salt spray and UV tests, verifying readability and durability across tag types. Always request test data before launching large production runs.
Readable, durable tags not only secure brand reputation—they minimize replacement costs and reduce risks of misidentification. For severe environments, consult How to Maximize Tag Durability: Rust Proofing Strategies and Salt Spray Testing Secures Durable Marine & Outdoor Tags for best practice guidance.
Industry Use Cases for Cut-Out Designs
Cut-out logos deliver lasting value across numerous industry sectors. Examples include:
- Industrial asset tracking (serial numbers, ID tags)
- Commercial branding (metal nameplates, logo tags on equipment)
- Consumer applications (pet tags, luggage tags, keychain tags)
- Merchandise creation (branded bookmarks, garment labels)
Each use case benefits from sharp branding, clarity, and tamper resistance. Asset tracking tags keep equipment reliably identified, while pet tags offer readable, stylish personal ID. Branded merchandise uses cut-out designs for tactile appeal and durable logos.
Logo conversion is central to transforming digital artwork for real-world use. Success stories often highlight well-designed cut-outs that withstand heavy use and severe environments. Garment manufacturers have documented improved brand image using cut-out garment tag solutions (garment tag manufacturer). Similarly, consumer brands achieve increased customer satisfaction by deploying high-quality, corrosion-resistant luggage tags (luggage tag manufacturer).
Cut-out designs offer versatile performance, supporting everything from rugged industrial uses to luxury branding.
Common Mistakes and Troubleshooting Tips
Converting a JPEG logo to a cut-out design isn’t always straightforward. Common mistakes include:
- Unreadable text: Small fonts or complex layouts fail on tiny tags—simplify and check legibility.
- Poor contrast: Low color contrast limits visibility under various lighting conditions; use matte or polished finishes to boost clarity.
- Incorrect adhesive or attachment: Wrong choice causes peeling or loss; match 3M adhesives or rivet holes to tag material.
- Inadequate finish: Uncoated metals corrode or wear; always specify appropriate finish quality for the environment.
- Lack of artwork proofing: Final files may contain errors, missing tolerances, or excessive detail; run pre-production checks.
Corrective actions include revisiting artwork for minimum line weight, testing attachments on sample materials, and reviewing finishes with reference guides like Stick-On Metal Logo Tags: How 3M Adhesive Backings Supercharge Durability & Branding Performance. Check each cut-out design for consistent spacing, clean borders, and absence of sharp points.
Before production, run through the checklist: legibility at smallest scale, material and finish selection, attachment suitability, and manufacturing tolerances. Thorough preparation reduces costly errors and delivers optimal results.
Ordering Guide for Custom Metal Tags

The ordering process is straightforward if you follow key steps:
- Minimum Order Quantities (MOQ): Vary by material and finish—typical ranges from 100–500 units for custom metal tags.
- Lead Times: Standard production can take from 2–6 weeks, depending on method and complexity.
- Artwork Submission: Provide clean vector files for logo conversion—.AI, .SVG, or .DXF are most common. Proof artwork before submitting.
- Sampling: Request samples for approval before full production, ensuring cut-out design and finish quality meet expectations.
- Packaging & Shipping: Choose bulk, boxed, or branded packaging; confirm shipping arrangements for large orders.
- Addressing Changes: Communicate revisions early—minor changes can be incorporated before production starts but may impact timeline.
Logo conversion files must be checked for tolerances, legibility, and compliance with manufacturing specs. UC Tag offers artwork proofing and sampling to help buyers and engineers avoid miscommunication during ordering. Refer to tag solution guides (tag solutions) for help with custom designs and order adjustments.
FAQ on JPEG to Cut-Out Logo Conversion
What file format is best for a cut-out logo?
The ideal file format is vector-based, such as .AI, .SVG, or .DXF. These formats provide precise lines and scalability required for manufacturing cut-out designs from your logo conversion.
How do I ensure high quality in my final design?
Refine traces, check minimum line weights, and preview the cut-out design at small scale. Always proof your artwork and request samples before final production.
Can I use an online converter for my logo?
Online converters work for simple artwork but may fail with complex logos. It’s best to verify edge quality and manually refine results in software like Illustrator for better logo conversion outcomes.
What are the best finishes for outdoor durability?
For outdoor and industrial tags, choose finishes such as anodized aluminum, polished or matte stainless steel, or UV-resistant coatings. These options protect your cut-out design from corrosion and fading.
How do I choose the right material?
Consider your tag’s environment: aluminum for lightweight use, stainless steel for harsh conditions, brass for premium aesthetics. Each material offers unique trade-offs in durability and appearance.
What types of manufacturing methods work best for my project?
Engraving and stamping are best for durable, high-volume tags. Etching suits fine, decorative designs. Choose the method that matches your cut-out design’s complexity, intended use, and production scale.
Related Reading
- Avoid Tag Breakage: Expert Guide to Correct Metal Line Weight and Strength
- Design QR Codes That Scan Perfectly on Metal Tags Every Time
- DIY Edge Control: Industry Techniques for Bleed and Borders in Die-Cut Tags
- Why Vector Art Is Essential for Crisp Metal Molds and Tag Production
- Maximize Tag Life: Rust Proofing Strategies for Humid and Outdoor Uses
- Achieve Stunning Cut-Out Detailing for Pierced Metal Logo Tags