Introduction to Die-Cut Tags
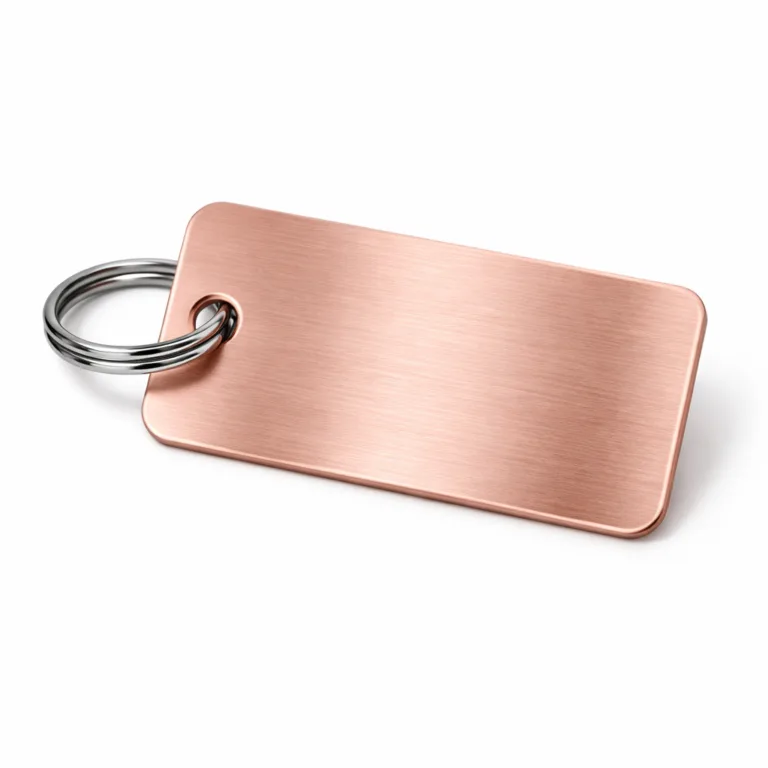
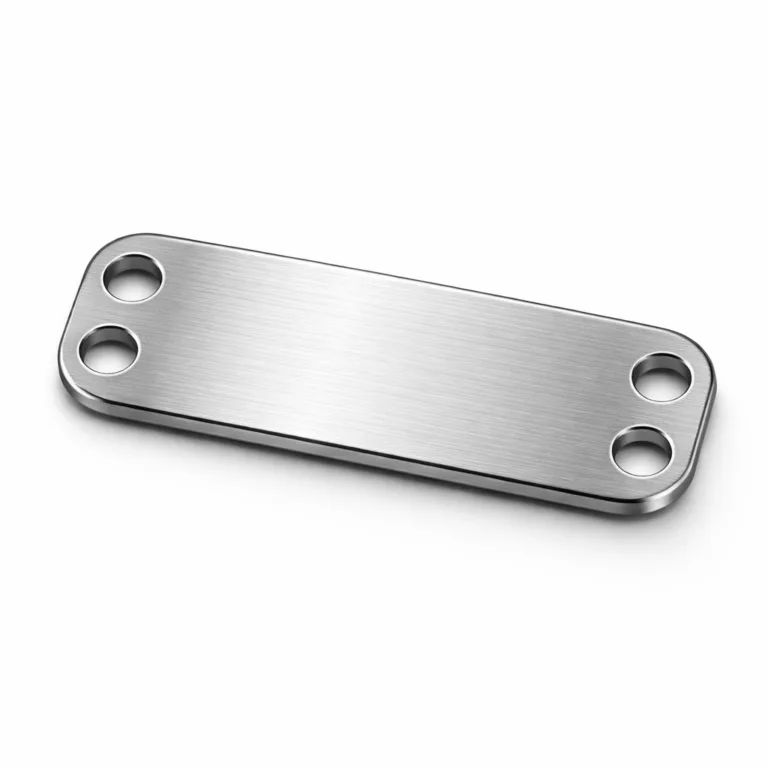
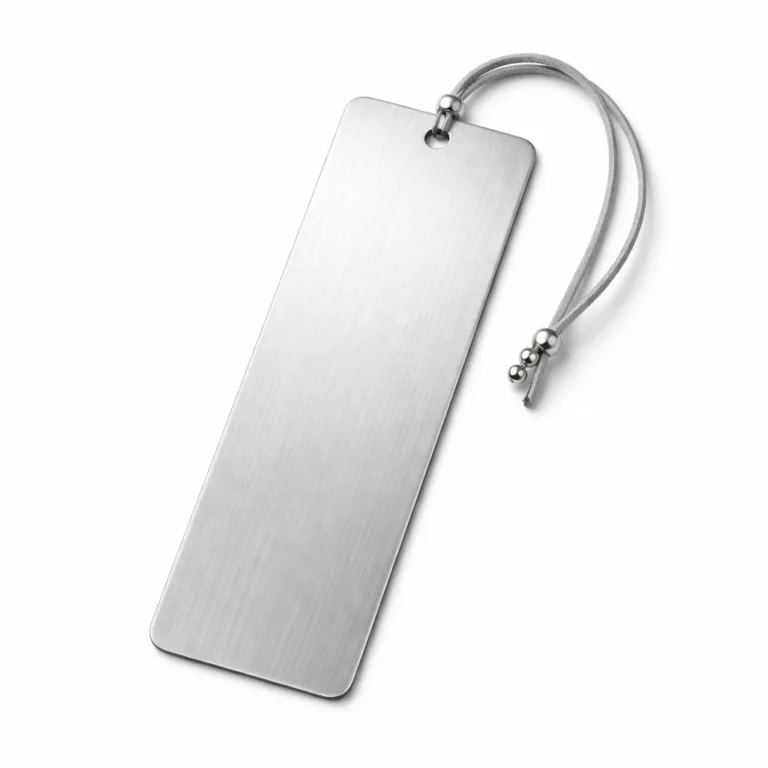
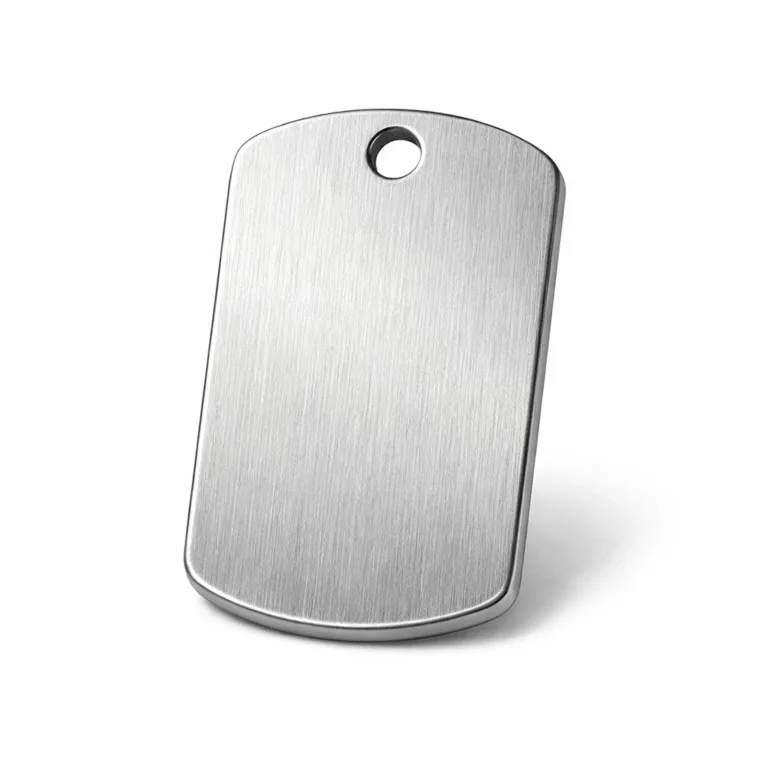
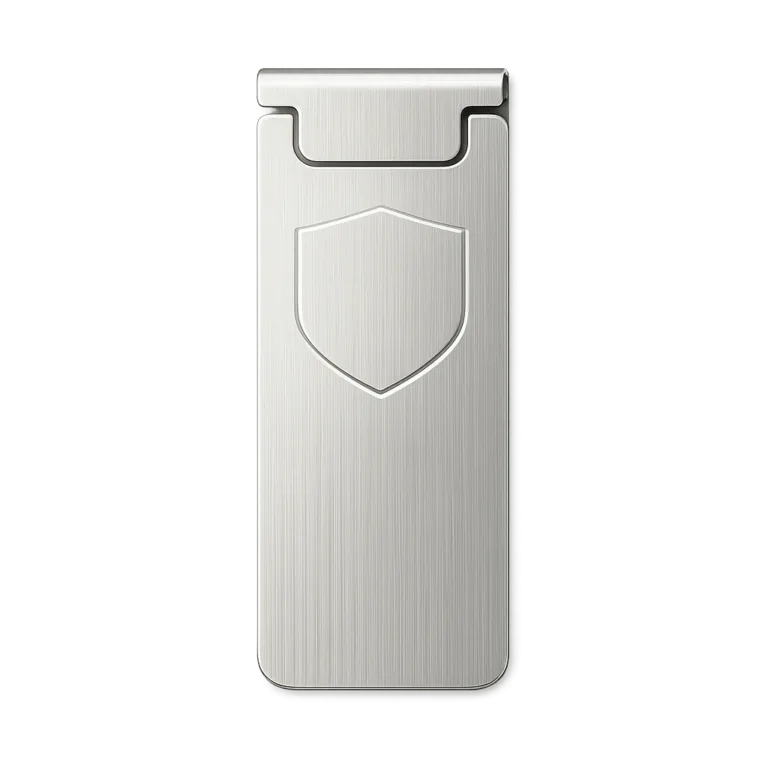
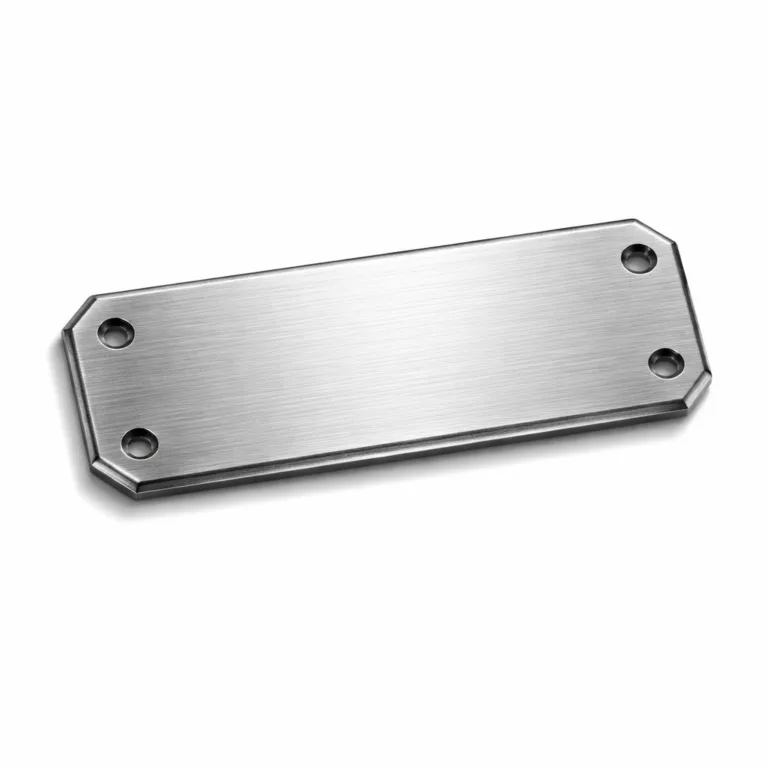
Die-cut tags are precision-shaped identification plates used across industrial, commercial, and consumer applications. Unlike standard rectangles or circles, die-cut tags feature custom shapes carefully cut to design specs, ensuring unique branding and clear product or asset identification.
In environments such as manufacturing plants, warehouses, and retail, die-cut tags support asset tracking, machine part labeling, and attractive product branding. Effective edge management in these tags is crucial: poorly finished or misaligned edges undermine both the durability and professional appearance of the tag.
This article guides B2B designers, engineers, and procurement specialists through vital technical specifications. We’ll focus on the concepts of bleed and borders — two essential factors in creating clean, readable, and robust die-cut tags. Understanding and managing these features is key to delivering tags that not only look sharp, but perform reliably under demanding conditions. If you’re aiming for professional die-cut tags, mastering their edge details is non-negotiable.
Understanding Bleed and Its Importance

Bleed refers to the intentional extension of artwork beyond the intended cut line. In die-cut tag production, bleed ensures that colors, graphics, or patterns reach right up to the tag edge without unsightly white margins or misalignments caused by minor cutting variations.
The bleed zone absorbs these cutting tolerances, making sure there’s no exposed base metal or unintended gaps. Without proper bleed, tags can end up with uneven color borders, which compromises both the visual appeal and identification function.
For metal tags, industry standards often require bleed margins of 1.5–2.0 mm (sometimes up to 3 mm for complex shapes or high-speed mass production). Maintaining the proper bleed prevents text or graphics from being accidentally trimmed, preserving clarity and brand integrity.
- Create artwork with a clear indication of the bleed area, ensuring design elements extend beyond the die line.
- Double-check text positioning — keep critical information at least 2 mm inside the cut line, away from bleed.
- Use vector art files for best precision (see Unlock Precise Metal Molds for tips).
- Request production proofs to verify accurate bleed and cropping before final manufacture.
Proper bleed not only affects aesthetics, but also helps designers accommodate minor shift during stamping, laser cutting, or CNC machining.
The Role of Borders in Tag Design
Borders are visual or structural lines that frame the artwork of die-cut tags, providing both decorative and functional benefits. They act as a buffer zone, protecting essential information from edge damage and improving readability, especially in challenging environments.
Simple borders are often just a thin outline; decorative borders may include patterns, embossing, or colored fills; functional borders may be raised or recessed to improve tag durability and highlight logos or serial numbers.
Recommendations for border design specifications:
- Maintain a minimum thickness of 1 mm for simple borders, and 1.5–2 mm for embossed or colored borders.
- Use high-contrast styles for readability — dark borders against light backgrounds, or metallic finishes.
- Ensure borders are continuous and evenly spaced from key elements.
Effective borders support barcode and QR code scanning, increasing tag utility for asset tracking and inventory. In industrial contexts such as machinery or outdoor equipment, thicker borders resist chipping and abrasions.
Design best practices include harmonizing border shape with overall tag geometry, avoiding border styles that distract from branding or essential ID marks. Consider application-specific needs: decorative borders suit consumer goods, while robust borders fit heavy-duty industrial tags.
Designing for Manufacturing: Key Specifications
To deliver professional-quality die-cut tags, designers must translate visual concepts into precise manufacturing specs. Here’s a practical checklist for creating manufacturing-ready artwork:
| Spec | Recommended Values | Purpose |
|---|---|---|
| Tag Size | 25–80 mm | Optimal visibility and ease of attachment |
| Thickness | 0.5–2.0 mm | Durability vs. weight |
| Bleed Margin | 1.5–2.0 mm | Prevents edge miscoloration |
| Border Thickness | 1–2 mm | Enhances readability, protects artwork |
| Finish | Anodized, painted, plated | Protection and aesthetic appeal |
| Hole Placement | 3–6 mm from edge | Structural integrity |
| Adhesive Backing | 3M, other adhesives | Mounting flexibility |
| Readability | Font size ≥1.5 mm, barcodes≥3 mm | Ensures data is clear |
| Production Tolerance | ±0.2 mm | Consistent fit and finish |
Designers should also consider the tag’s environmental stressors — tags for outdoor equipment require thicker material or weather-resistant finishes.
When specifying hole placements, factor in attachment methods such as ball chains, wire cables, or S-hooks. For adhesive-backed tags, match the adhesive to substrate material (see Stick-On Metal Logo Tags for expert guidance).
Precision matters: UC Tag recommends always providing vector files and specifying tolerances upfront. Rain Chen notes, “Artwork with clear bleed, border, and cut lines is the foundation for reliable mass production. It prevents costly rejects and ensures every tag is as sharp as the first.”
Material Choices: Aluminum vs. Stainless Steel vs. Brass
The longevity and functionality of die-cut tags depend heavily on the material selected. Here’s an in-depth look at aluminum, stainless steel, and brass:
| Material | Properties | Applications | Finish Options |
|---|---|---|---|
| Aluminum | Lightweight, corrosion-resistant, easy to etch | Outdoor, asset labels, logo plates | Anodized, painted, UV printed |
| Stainless Steel | Heavy-duty, wear-resistant, high-strength | Machinery, harsh environments | Brushed, mirror-polished, laser etched |
| Brass | Decorative, moderate corrosion resistance | Luxury tags, wine, garment tags | Polished, antiqued, engraved |
Aluminum is cost-effective and best for tags requiring vivid color and flawless outdoor performance. Stainless steel thrives in high-abrasion, chemical exposures, and long-term asset tracking. Brass offers distinctive appearance and vintage charm, popular in upscale brand labeling.
Consider weight: brass is heavier, providing a premium feel, while aluminum suits mobile or high-volume applications. Environmental factors, such as salt spray or UV exposure, may dictate anodized or plated finishes for added defense. For more on brass durability, see Brass vs. Steel Tags: Wear Insights.
UC Tag often advises mixing visual and technical priorities — for instance, combining anodized aluminum with a robust border for industrial asset tags, or mirror-polished brass for collectible merchandise.
Comparing Manufacturing Methods
Die-cut tags can be produced by several methods, each altering the final result:
- Stamping: Efficient for high volume, delivers crisp shapes. Less suitable for intricate bleed areas and micro-detail borders.
- Engraving: Laser or CNC engraving offers lasting readability and fine text, perfect for data tags with small borders.
- Chemical Etching: Allows high-detail logos/artwork with smooth transitions between bleed and border designs.
- Printing (UV, offset): Ideal for vivid color and gradients, works well with large bleed zones but less durable in abrasion-prone settings.
The right method depends on design complexity, material, and tag purpose. For example, engraved stainless steel tags resist abrasion, while printed aluminum tags excel in colorful branding.

Compatibility with bleed and borders varies. Stamping may require wider bleed; UV printing allows precision but needs careful border alignment. If custom shape tolerance is critical, chemical etching may be the best fit. See How Deep Should Metal Engraving Go? for legibility tips.
Case study: A manufacturer needed weather-resistant barcode tags for outdoor cranes. UC Tag recommended laser-engraved stainless steel with bold borders, providing sharp bleed control and durable performance, even in salt-laden air.
Ensuring Durability & Testing
Die-cut tags must withstand harsh environments, especially when used for industrial identification, asset tracking, or outdoor branding. Engineering for durability involves rigorous testing and careful material/finish selection.
- Corrosion Testing: Salt spray tests indicate resistance to rust — vital for marine or chemical facilities.
- Abrasion Testing: Checks tag surface strength and readability after repeated friction.
- UV Exposure: Ensures color and print longevity under sunlight.
- Longevity Testing: Simulates years of wear, validating border solidity and bleed preservation.
Key results to seek: no visible corrosion, minimal loss of text clarity, borders intact, and no fading within accepted timelines. For outdoor tags, look for finishes that pass at least 500 hours of salt spray and UV tests.
For indoor tags, prioritize abrasion resistance and scannability. For more testing tips, see Salt Spray Testing for Marine Tags and UV Resistance Masterclass.
Regular maintenance — inspecting and cleaning tags — extends lifespan. Rain Chen shares: “A well-placed border and proper finish almost eliminate outdoor maintenance, but always test under real conditions before full rollout.”
Common Mistakes and Troubleshooting Strategies
Even seasoned designers and engineers can run into pitfalls when producing die-cut tags. Common flaws include:
- Insufficient bleed, resulting in accidental cropping or exposed metal edges.
- Border thickness too thin, leading to chipped artwork or loss of readability.
- Poor material selection, causing premature tag wear or corrosion.
- Fonts or data too close to the edge, increasing risk of trimming errors.
To troubleshoot, review artwork for clear bleed margins and proper border structure. Adjust design specs to place critical details well inside the border. Choose materials and finishes proven in relevant environments and verify with prototypes or samples.
Proofing is essential: always request samples and conduct field tests before mass production. See Font Size Guide for Metal Tag Engraving to avoid readability issues.
If tag wear is rapid, re-evaluate finishes or switch to stainless steel. Rain Chen cautions: “Skipping testing or underestimating bleed tolerance leads to costly failures — fix issues early with clear specs and thorough reviews.”
Industry Applications and Use Cases
Die-cut tags serve a diverse range of industries, adapting to demanding environments and unique branding needs. Here are some use cases:
- Industrial Equipment: Aluminum or stainless steel tags track assets and parts in factories, engineered for resistance to abrasion and corrosion.
- Consumer Goods: Branded logos, decorative shape tags, and functional ID tags add value to retail products, balancing aesthetic border design with practical attachment methods.
- Asset Tracking: QR/barcode tags for warehouses, IT, or logistics integrate robust borders for scan reliability and survive contact with chemicals.
Successful implementation often hinges on environmental factors. High-humidity or marine industries favor anodized aluminum with bold borders; luxury product labeling might select brass with engraved or antique finishes.
B2B buyers drive these applications by specifying compliance standards (e.g., ISO, RoHS, material traceability) — a critical step for equipment manufacturers, airlines, or medical device suppliers. For garment applications, see Durable Metal Garment Labels for best practices.
In each case, well-managed bleed and border parameters underpin both the visual appeal and practical durability required for success.
Ordering Guide for Die-Cut Tags

Placing an order for die-cut tags involves a few critical steps to ensure error-free, professional results:
- Minimum Order Quantities (MOQ): Most manufacturers set MOQs from 100–500 units, depending on material and process.
- Lead Time Expectations: Standard lead times range from 2–5 weeks; highly custom tags may take longer.
- Accurate Artwork & Specs: Submit vector files with complete bleed and border markings. Include all dimensions, finish types, and hole placements.
- Review & Proofing: Insist on digital (or physical) proofs before production starts to catch design errors.
- Packaging & Shipping: Request protective packaging for bulk orders. Specify if tags need to be sorted by serial numbers or batches for easy asset deployment.
If you’re uncertain about the ideal material or finish, UC Tag’s experienced specialists can recommend a tailored option based on your specific application.
For more information or to review standard samples, see UC Tag Standard Samples.
Frequently Asked Questions
What are the benefits of using die-cut tags?
Die-cut tags offer superior shape customization, improved branding, and precise identification for assets or products in tough environments.
How do I choose the right material for my application?
Consider durability, weight, corrosion resistance, and visual needs; aluminum suits outdoor tags, stainless steel excels in harsh settings, brass is ideal for premium branding.
What design considerations should I keep in mind?
Always provide clear bleed and border specs, keep text away from the cut line, and match finish to environmental exposure for lasting performance.
How do I ensure my artwork is production-ready?
Submit vector files with explicit bleed areas and border marks, specify font sizes, confirm hole placements, and proof designs before mass production.
What testing should my tags undergo for durability?
Request corrosion, abrasion, UV, and salt spray tests—these certify the tag’s resistance to real-world conditions and safeguard both appearance and functionality.
What is the typical lead time for ordering?
Standard lead times for die-cut tags range from two to five weeks, varying by material, processing method, and customization complexity.
Related Reading
- How to Achieve Maximum Legibility in Metal Tag Engraving & Stamping
- Unlock Flawless Edge Detail: Why Vector Art Files Matter in Metal Tag Design
- Real-World Durability Comparison: Brass vs. Steel Tags Over 5 Years
- Stop Color Fading: Proven UV Resistance Solutions for Metal Equipment Tags
- Extend Lifespan: 3M Adhesive Strategies for Sticking Metal Logo Tags Anywhere
- Expert Secrets for Durable Sew-On Metal Garment Labels